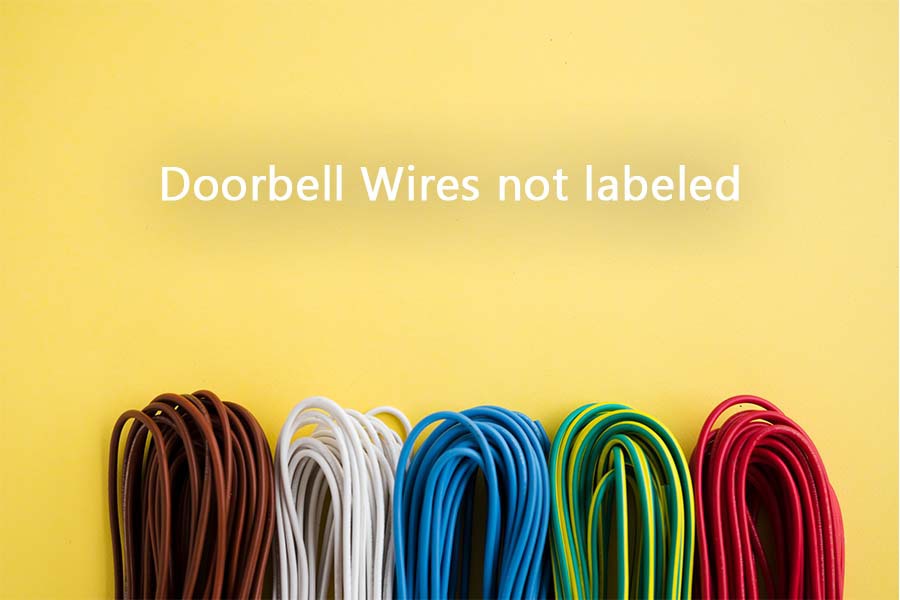
To install a doorbell will require the hectic setting up of piles of complicated wires. Users who are unaware of technical strata often get confused about which wire to install, so labeling each wire has become essential.
We read several queries where users, while installing a doorbell, accidentally unwired the whole setup before labeling each wire. They couldn’t figure out how to hook them back afterward.
In this article, we have shared some simple tips and tricks with you to solve your issues. Just try these simple ways mentioned below:
1. Try Using a Multimeter
If you have forgotten to label the wires before unhooking them, then the first way you can try is to use a multimeter.
A multimeter is a testing device that assists in measuring more than one electrical value, essentially resistance(ohms), current(amps), and voltage (volts).
Therefore, a multimeter will enable you to check all the wires and identify which is which.
It will let you see several wires from the push button and the transformer as well.
Just push the buttons down that will enable you to identify the purpose of each wire with the help of a multimeter.
2. Check the Terminal Chimes
If using a multimeter doesn’t do much, then the next to try is checking the doorbell chimes. First, ascertain all the three terminals of your doorbell chimes. The three terminals are usually labeled as “trans,” “front,” and “rear.”
For users who are unaware of wire dynamics, the “rear” terminal is linked to the doorbell, which is pressed for connecting with the chime.
On the contrary, the “front” terminal connects with the transformer, i.e., “trans,” which then connects with the chime.
3. Contact a technician
Not all people are tech savvies. If you too feel that you don’t understand the dynamics of the wiring system, then we suggest you contact an expert or an electrical technician.
Such verified professionals will get a better understanding once they examine it closely and assist you better in installing the doorbell.
The professionals can even label the wires to avoid similar problems to occur again in the future.
This might involve some service charge but will certainly resolve all of the issues you were facing.
4. Refer to the User Manual
All the devices include a user guide in the package or a guidebook that provides all the basics to advance functional instruction.
In addition, it has steps as to how to install and use that particular device. Similarly, the doorbell you purchased must also include a user manual to refer to for basic guidance.
We highly suggest you read every instruction from the user guide. It will guide you through the solution. It will also have basic steps to troubleshoot to resolve the issues you are facing.
So thoroughly follow the instructions one by one and that should help you solve the problems.
5. Look for a suitable Guide
Based on the doorbell model and attributes, you should try searching relevant guides online to get some knowledge about the wiring system of your doorbell.
Several guides and articles online will assist you in reinstalling your doorbell with essential information for you to understand the wiring system.
We suggest you search through such guides and instruction articles thoroughly using your internet browser as it is quite easy to find them.